Set up CloudHealth
CloudHealth is available only to customers in the DoiT shared Amazon Web Services (AWS) organizations under the management accounts (formerly known as Master Payer Account) 561602220360, 017920819041, and 279843869311.
Follow the instructions below to set up CloudHealth for your new or existing AWS account linked to DoiT International consolidated billing.
Sign in to the AWS Management Console
Sign in to the AWS account to be integrated with CloudHealth.
You need to use an IAM account that has the permission to create AWS IAM roles and policies.
Create an AWS IAM Policy
Navigate to IAM Policies and select Create policy.
Switch to the JSON tab and replace the existing content with this JSON policy:
AWS IAM policy JSON
{
  "Version": "2012-10-17",
  "Statement": [
    {
      "Effect": "Allow",
      "Action": [
        "appstream:Describe*",
        "appstream:List*",
        "autoscaling:Describe*",
        "cloudformation:ListStacks",
        "cloudformation:ListStackResources",
        "cloudformation:DescribeStacks",
        "cloudformation:DescribeStackEvents",
        "cloudformation:DescribeStackResources",
        "cloudformation:GetTemplate",
        "cloudfront:Get*",
        "cloudfront:List*",
        "cloudtrail:DescribeTrails",
        "cloudtrail:GetEventSelectors",
        "cloudtrail:ListTags",
        "cloudwatch:Describe*",
        "cloudwatch:Get*",
        "cloudwatch:List*",
        "config:Get*",
        "config:Describe*",
        "config:Deliver*",
        "config:List*",
        "cur:Describe*",
        "dms:Describe*",
        "dms:List*",
        "dynamodb:DescribeTable",
        "dynamodb:List*",
        "ec2:Describe*",
        "ec2:GetReservedInstancesExchangeQuote",
        "ecs:List*",
        "ecs:Describe*",
        "elasticache:Describe*",
        "elasticache:ListTagsForResource",
        "elasticbeanstalk:Check*",
        "elasticbeanstalk:Describe*",
        "elasticbeanstalk:List*",
        "elasticbeanstalk:RequestEnvironmentInfo",
        "elasticbeanstalk:RetrieveEnvironmentInfo",
        "elasticfilesystem:Describe*",
        "elasticloadbalancing:Describe*",
        "elasticmapreduce:Describe*",
        "elasticmapreduce:List*",
        "es:List*",
        "es:Describe*",
        "firehose:ListDeliveryStreams",
        "firehose:DescribeDeliveryStream",
        "firehose:ListTagsForDeliveryStream",
        "iam:List*",
        "iam:Get*",
        "iam:GenerateCredentialReport",
        "kinesis:Describe*",
        "kinesis:List*",
        "kms:DescribeKey",
        "kms:GetKeyRotationStatus",
        "kms:ListKeys",
        "kms:ListResourceTags",
        "lambda:List*",
        "logs:Describe*",
        "logs:ListTagsLogGroup",
        "organizations:ListAccounts",
        "organizations:ListTagsForResource",
        "organizations:DescribeOrganization",
        "redshift:Describe*",
        "route53:Get*",
        "route53:List*",
        "rds:Describe*",
        "rds:ListTagsForResource",
        "s3:GetBucketAcl",
        "s3:GetBucketLocation",
        "s3:GetBucketLogging",
        "s3:GetBucketPolicyStatus",
        "s3:GetBucketPublicAccessBlock",
        "s3:GetAccountPublicAccessBlock",
        "s3:GetBucketTagging",
        "s3:GetBucketVersioning",
        "s3:GetBucketWebsite",
        "s3:List*",
        "sagemaker:Describe*",
        "sagemaker:List*",
        "savingsplans:DescribeSavingsPlans",
        "sdb:GetAttributes",
        "sdb:List*",
        "ses:Get*",
        "ses:List*",
        "sns:Get*",
        "sns:List*",
        "sqs:GetQueueAttributes",
        "sqs:ListQueues",
        "storagegateway:List*",
        "storagegateway:Describe*",
        "workspaces:Describe*",
        "eks:Describe*",
        "eks:List*",
        "fsx:Describe*"
      ],
      "Resource": "*"
    }
  ]
}
Select Review Policy and set the policy name to CloudHealth.
Select Create Policy.
Create an IAM Role
Navigate to IAM Roles and select Create Role.
Select AWS Account as the trusted entity type.
Provide
454464851268as the Account ID.Select Require external ID and paste
6cda262029ad7b34a64ff537196ab4.Select Next: Permissions. Search and select CloudHealth IAM Policy.
Select Next: Tags.
Select Next: Review. Set Role Name to CloudHealth.
Select Create Role.
Create Users
The first user will be an administrator we create for you. An admin will be able to create more users and administrators in the CloudHealth Interface.
If you need further assistance, please open a support ticket.
Single Sign-On
If you have enabled SSO in CloudHealth, you will not be able to add users with usernames and passwords. You must first add them to the proper role group within the IdPs directory.
See AWS Single Sign-On Service Integration Guide For CloudHealth for more information.
CloudHealth incurred costs
The role assumed by CloudHealth performs certain activities that incur costs. For example, the CloudHealth role may need to collect the Cost and Usage Reports from your account and add them to a S3 bucket.
The costs incurred by the CloudHealth role are usually small. Below is an example invoice issued to a fictitious customer who was not using AWS services otherwise.

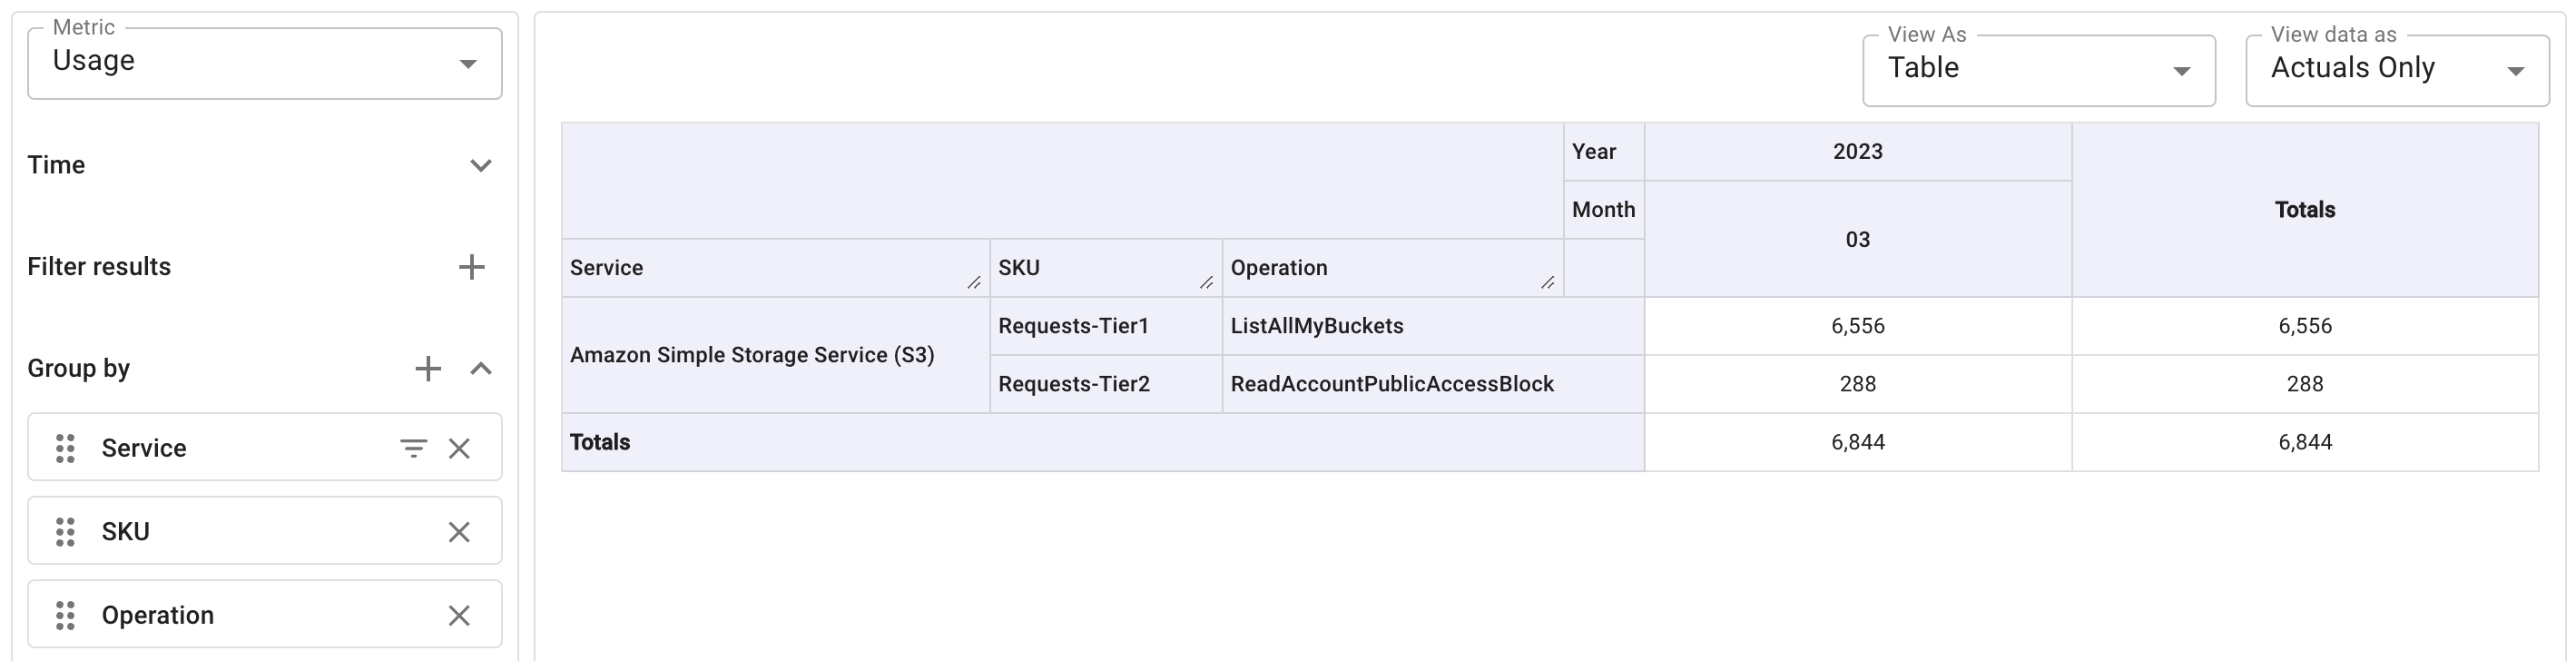
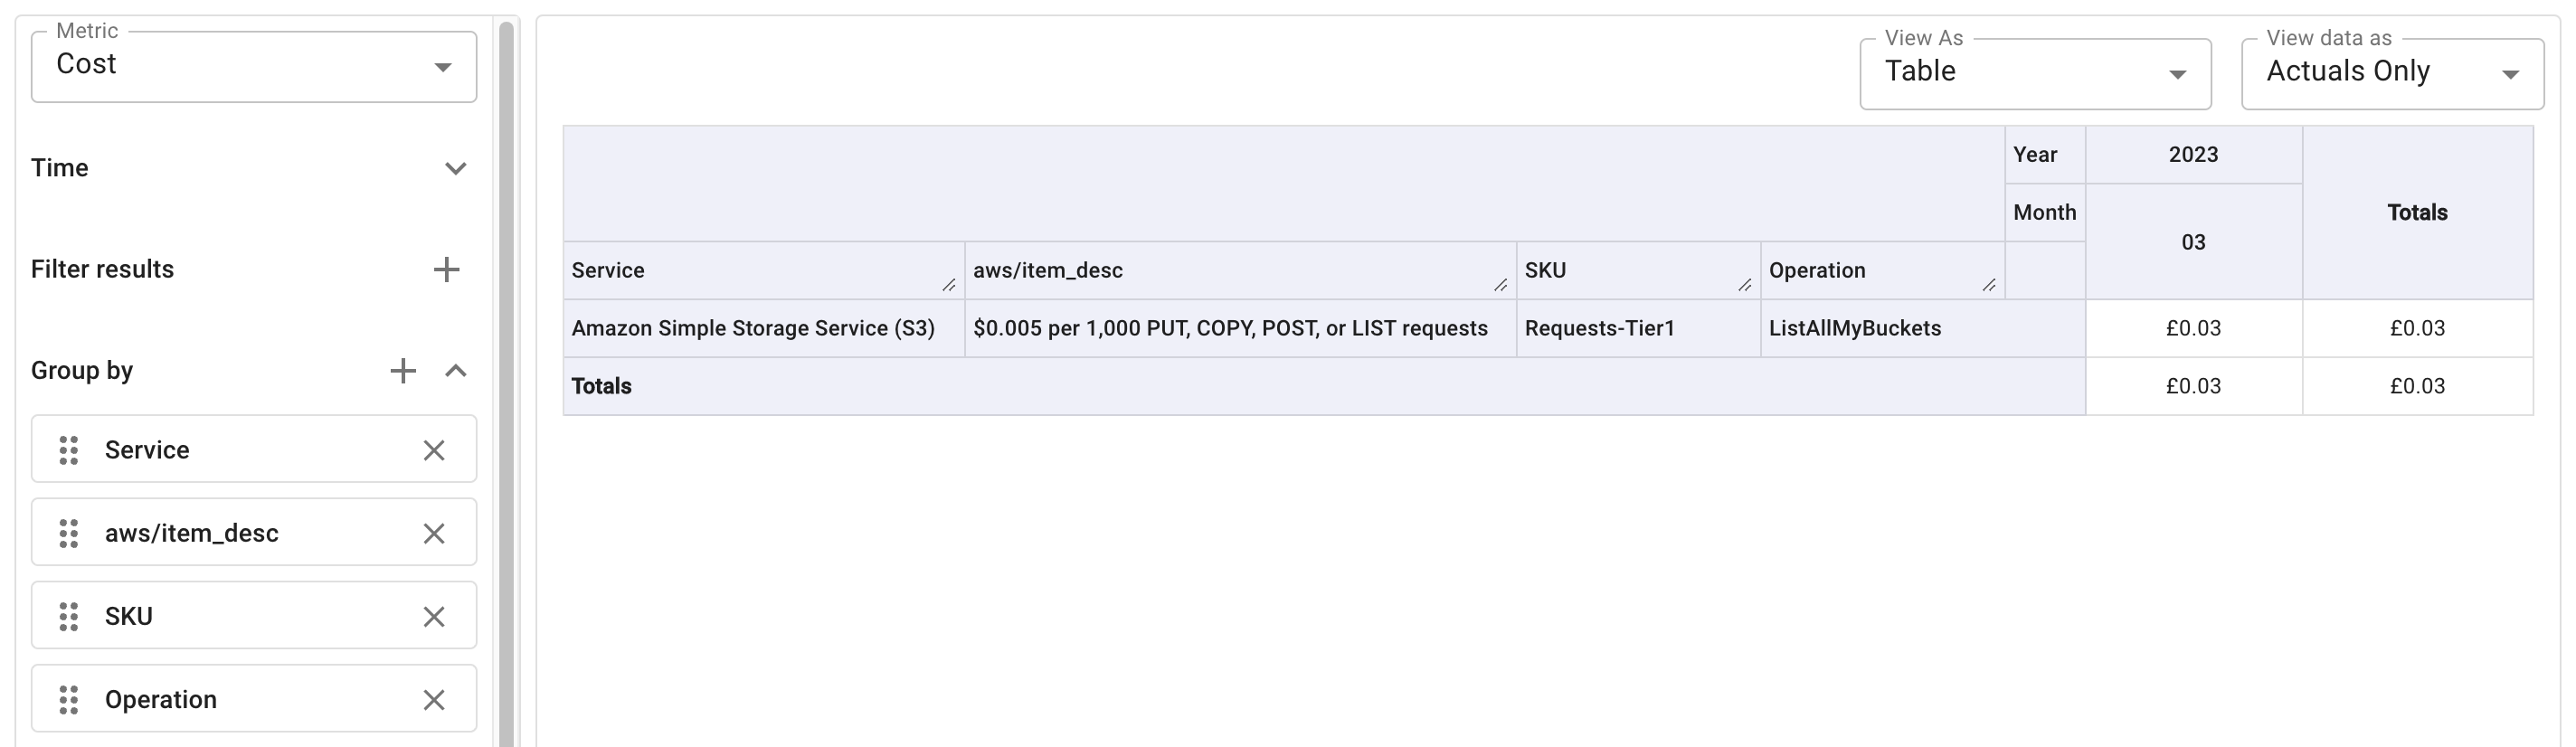
You can run a Cloud Analytics report to understand the cost and usage:
with the Cost metric:
with the Usage metric: